
Setup of Modbus TCP on Raspberry Pi
Introduction
Last time I was working with Modbus TCP slaves and masters. I was thinking how to use it and convert Raspberry Pi into Modbus TCP Slave. Luckily, I've found library written in Python - pyModbus that enbles full functionalities of Modbus. In the article, I'd like to show you how it is easy and how you can use this idea e.g. with your home automation system.
Good example of such integration you can find here:
Setup of pyModbus
At the beginning you have to install python 2.7 and repository of pyModbus. To do it use following commands:
sudo apt-get update
sudo apt-get install python-dev
sudo apt-get install python-pip
pip install pymodbus
Additionally, I had to install some extra packages:
pip install pycrypto
pip install pyasn1
More info how to install python you will find here:
https://www.raspberrypi.org/documentation/linux/software/python.md

Setup of Kepware's Modbus OPC Server Suite
In the second step you have to install Kepware's Modbus OPC Server Suite. Here you can find link to free demo:
http://www.kepware.com/Products/Modbus_Suite.asp
Generally, it the configuration process is quite easy. You have to type proper Slave's IP and port number and the add variables. You will have to indicate correct address of registers, type of the OPC Item and time of scan.
Remeber that in Modbus there are four types of registers (read: http://www.csimn.com/CSI_pages/Modbus101.html#mb101_40001), so you shall determine proper type either on OPC side and on Raspberry Pi side.
Modbus TCP Server
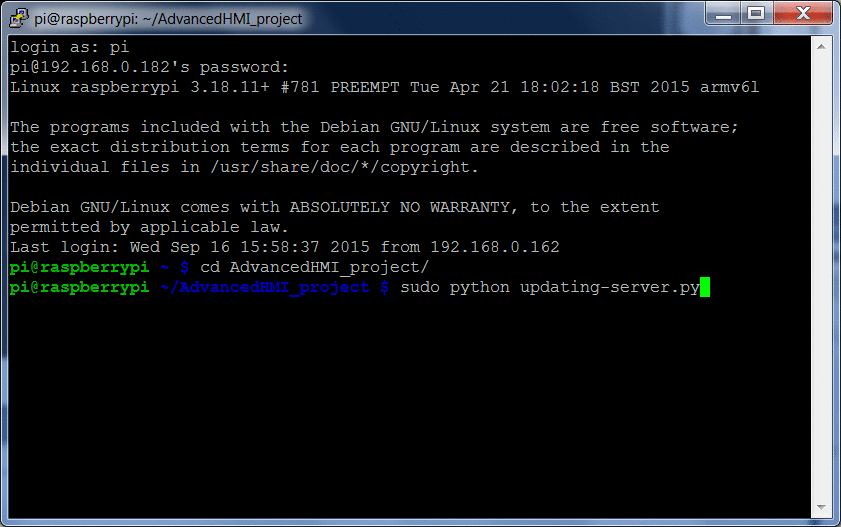
Finally, we can look at Modbus TCP Server. To make it easy, I've based my code on the example from pyModbus. In this programme, server updates their registers you will find here:
https://github.com/bashwork/pymodbus/blob/master/examples/common/updating-server.py
The function that is responsible for udpating the Modbus memory - context - is called "updating_writer". In this line, the current values are retrieved:
values = context[slave_id].getValues(register, address, count=5)
Below, the context is being changed:
values = [v + 1 for v in values]
And finally, Modbus memory is updated:
context[slave_id].setValues(register, address, values)
DHT11 - Temperature & Humidity sensor
In my example, Raspberry Pi works as a Modbus TCP Gateway that transfers data about temprature and humidity. I found two Python libraries that enable to read data from this sensor:
-
https://github.com/adafruit/Adafruit-Raspberry-Pi-Python-Code/tree/master/Adafruit_DHT_Driver_Python
However, I recommend to use the second one, because the first one is not working. First of all - there is small mistake in for loop (some bits are omitted), secondly - Raspbian is not Real Time OS, so counting time on the level of μ seconds without any prioritization of threads makes that reading values from DHT11 is highly error-prone. Lucikly, the second library works perfectly (inside the library you will find the code responsbile for assign high prority fot this task).
The program with compiled Python library, you will find here.
Links
-
https://pymodbus.readthedocs.org/en/latest/examples/updating-server.html
-
https://www.raspberrypi.org/documentation/linux/software/python.md
-
https://github.com/adafruit/Adafruit-Raspberry-Pi-Python-Code/tree/master/Adafruit_DHT_Driver_Python
-
http://malinowepi.pl/post/80178679087/dht11-czujnik-temperatury-i-wilgotno%C5%9Bci-uk%C5%82ad